Thank you for choosing to contribute an article to this webpage!
System Requirements
- Windows/Mac/Linux (recommended)
- Ruby >= 3.xx
- GitHub account
Linux + GitHub
Here are some of the steps needed when using a Linux machine. We demonstrate the process using an Ubuntu 18.04 box.
Installing the required packages
The first step is to install the necessary packages. Open a terminal and execute the following command
sudo apt install bundler ruby git
Next, install the github official cmd line tools.
curl -fsSL https://cli.github.com/packages/githubcli-archive-keyring.gpg | sudo dd of=/usr/share/keyrings/githubcli-archive-keyring.gpg
echo "deb [arch=$(dpkg --print-architecture) signed-by=/usr/share/keyrings/githubcli-archive-keyring.gpg] https://cli.github.com/packages stable main" | sudo tee /etc/apt/sources.list.d/github-cli.list > /dev/null
sudo apt update
sudo apt install gh
Run authentication
gh auth login
Creating a new post
Fork and clone the repository to your local directory and install the required dependencies.
gh repo fork git@github.com:AAIR-lab/genplan.git --clone
cd genplan
git checkout -b <your_post_name>
bundle install
The website is now ready to be served and can be opened in a web browser.
bundle exec jekyll serve
Next, in the web browser, go to the admin page of the webpage. This can be accomplished by adding /admin to the URL of the webpage.
For example, if your webpage is being hosted at localhost:4000, you would use the URL
localhost:4000/admin in your web browser.
If successful, you should see the following page.
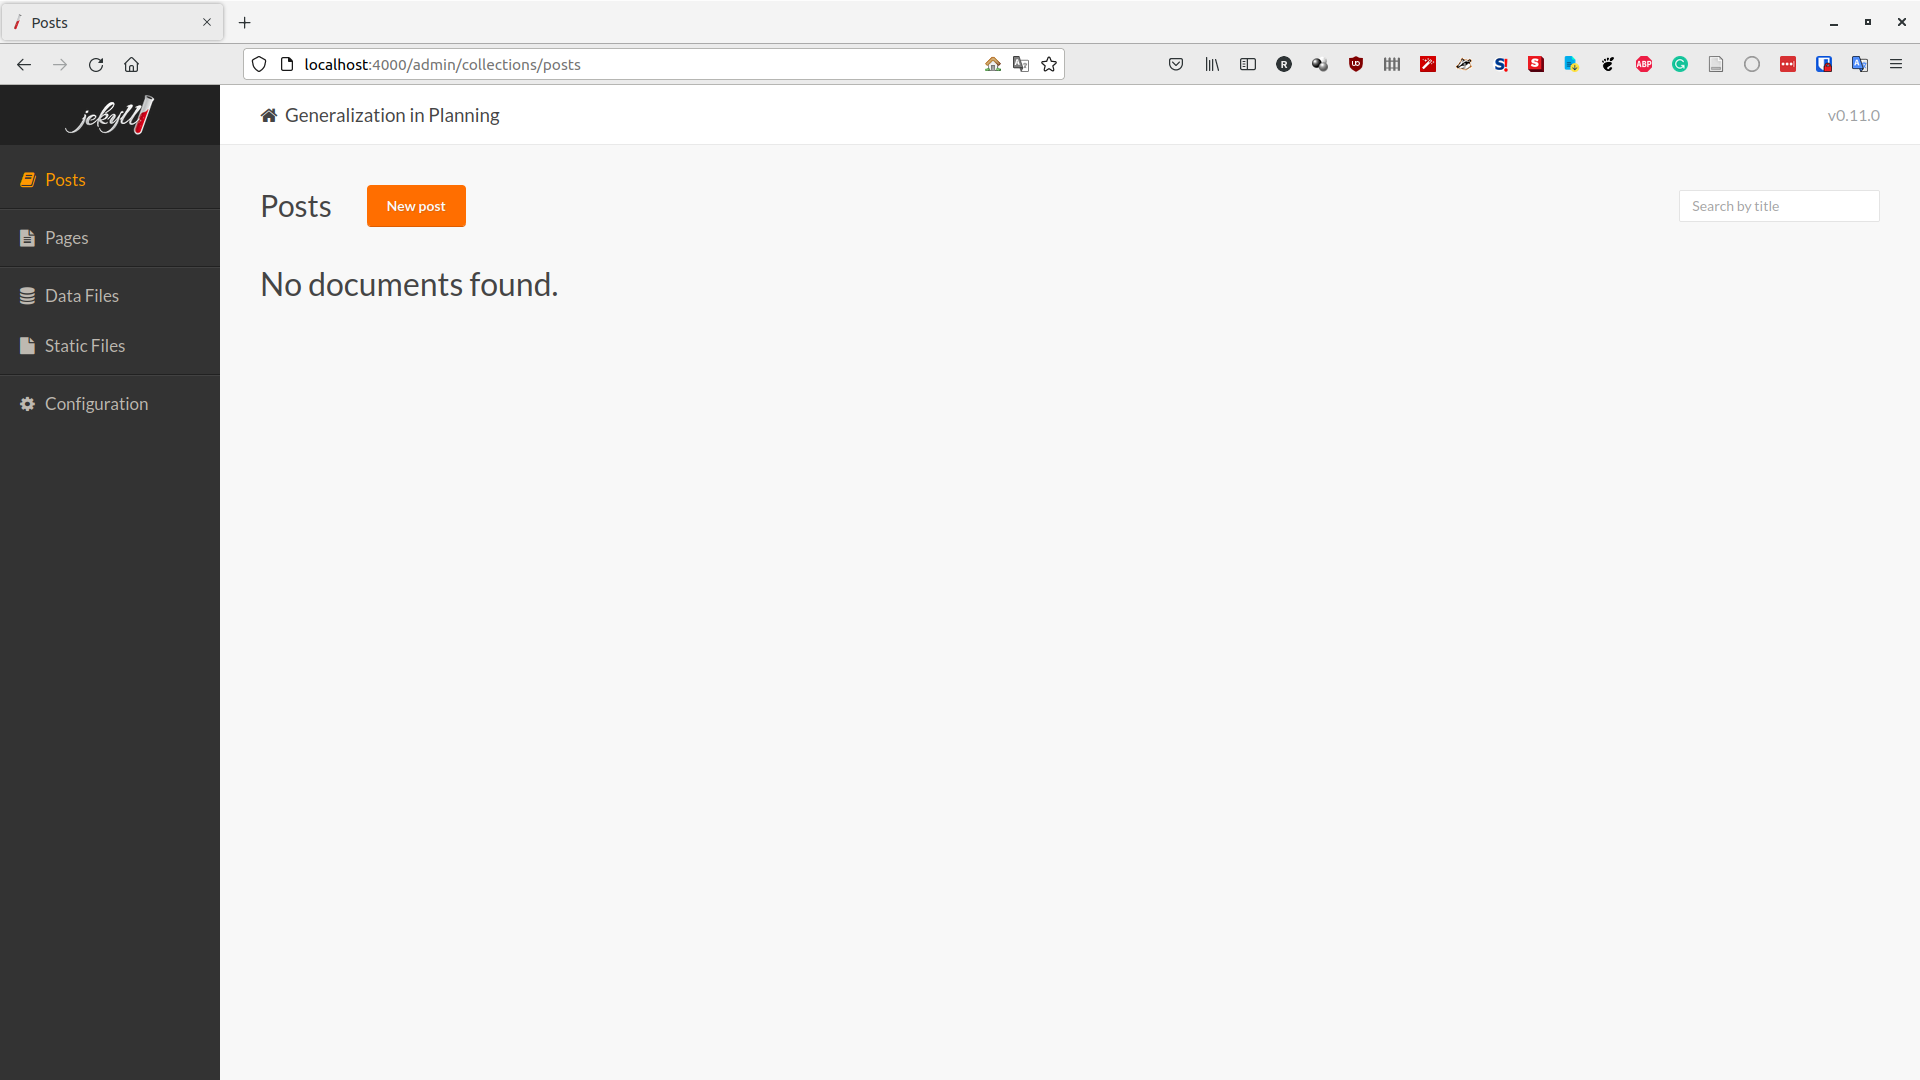
Click on new post, and create your post. You do not need to change the Path field since that is automatically generated.
Simply change the title and add the content that you wish to add.
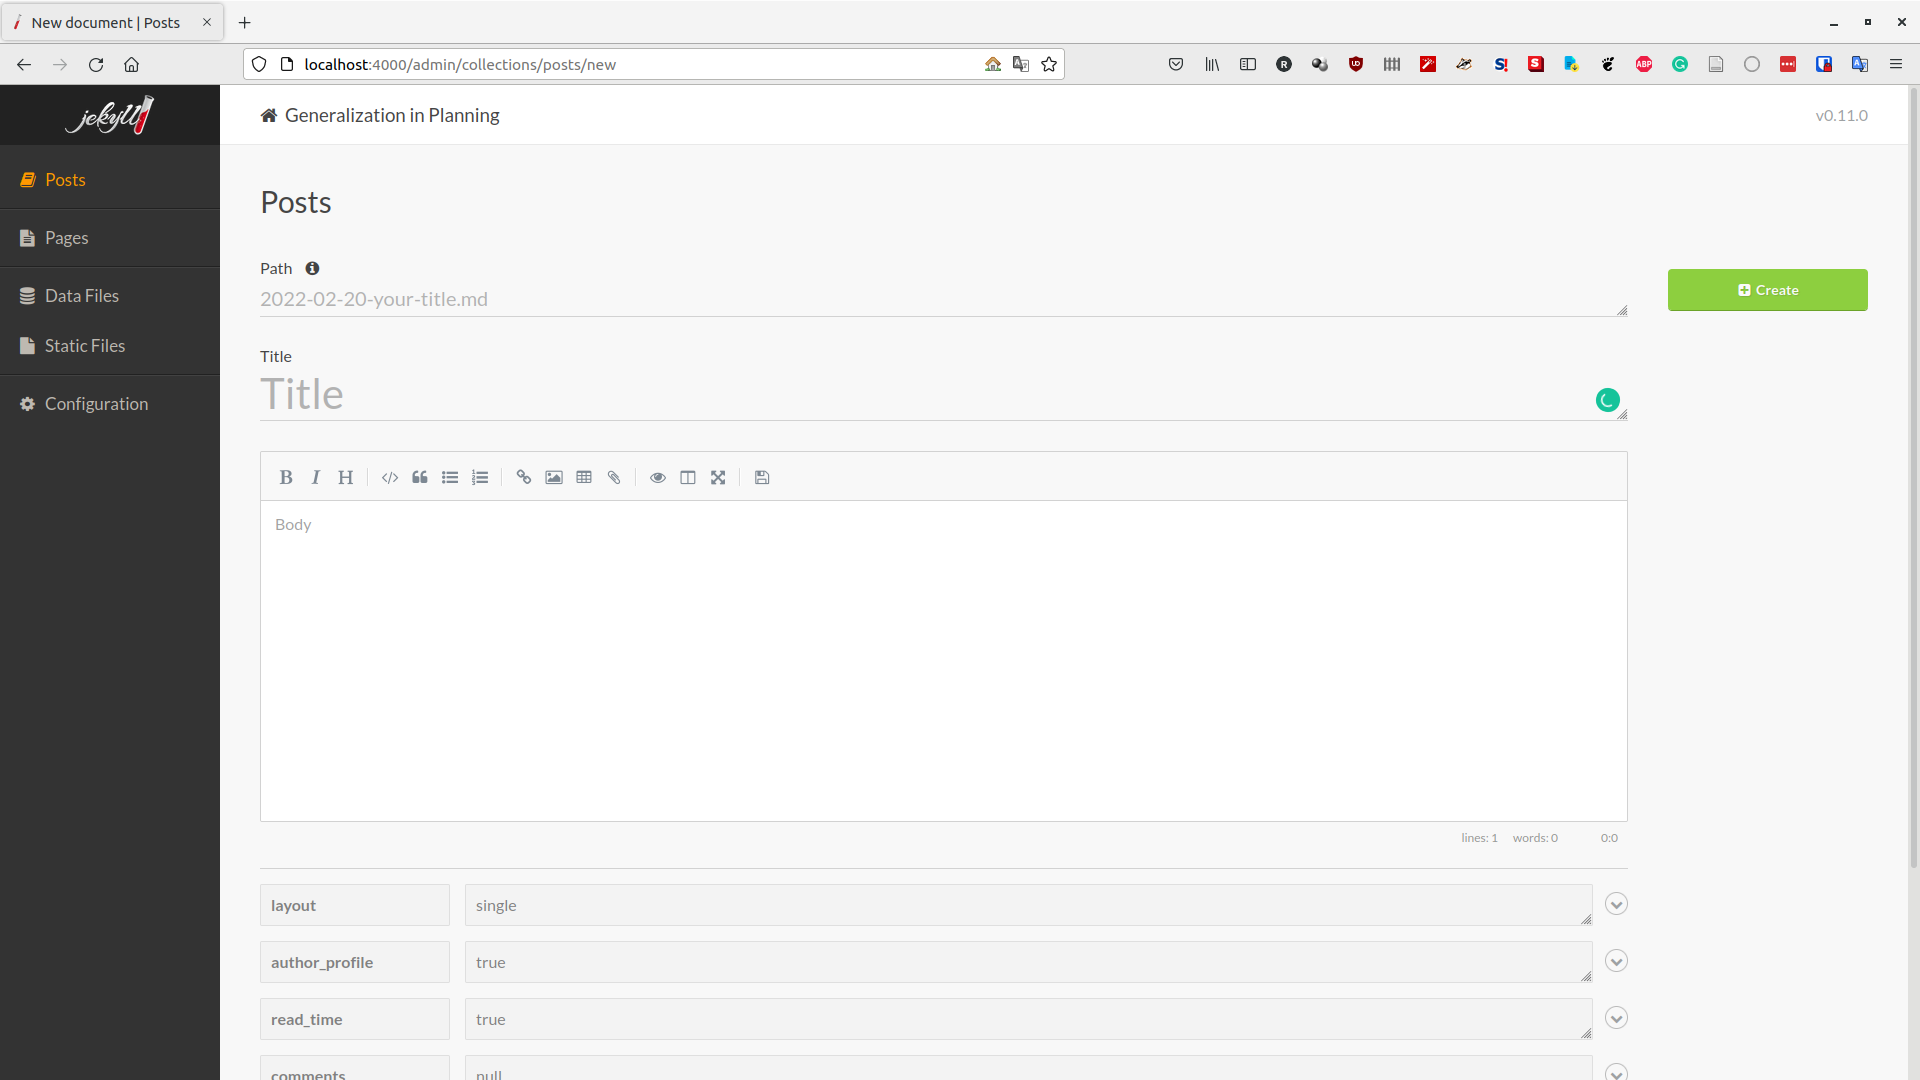
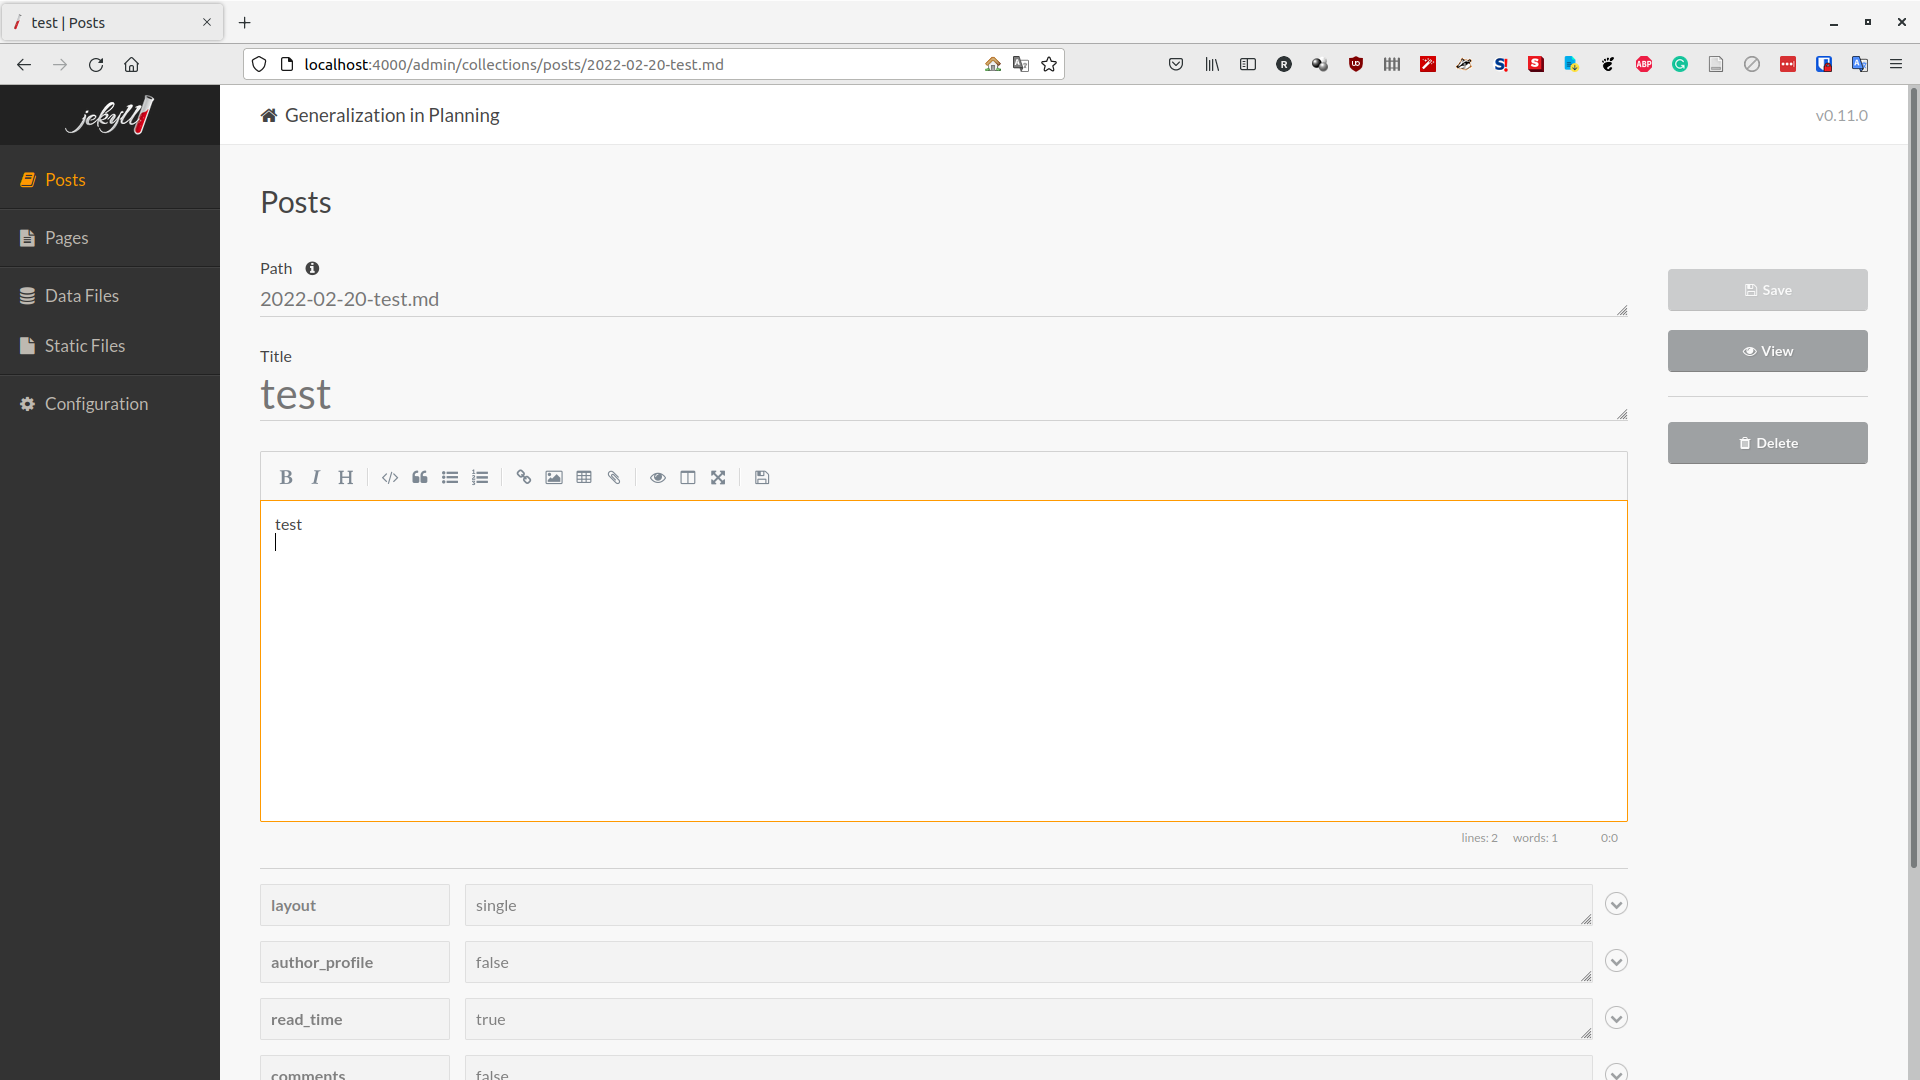
Once finished, click on Create (at the upper-right of the webpage) to create your post.
You will see that some additional buttons open up that allow you to view how your posts look and also to delete your
post.
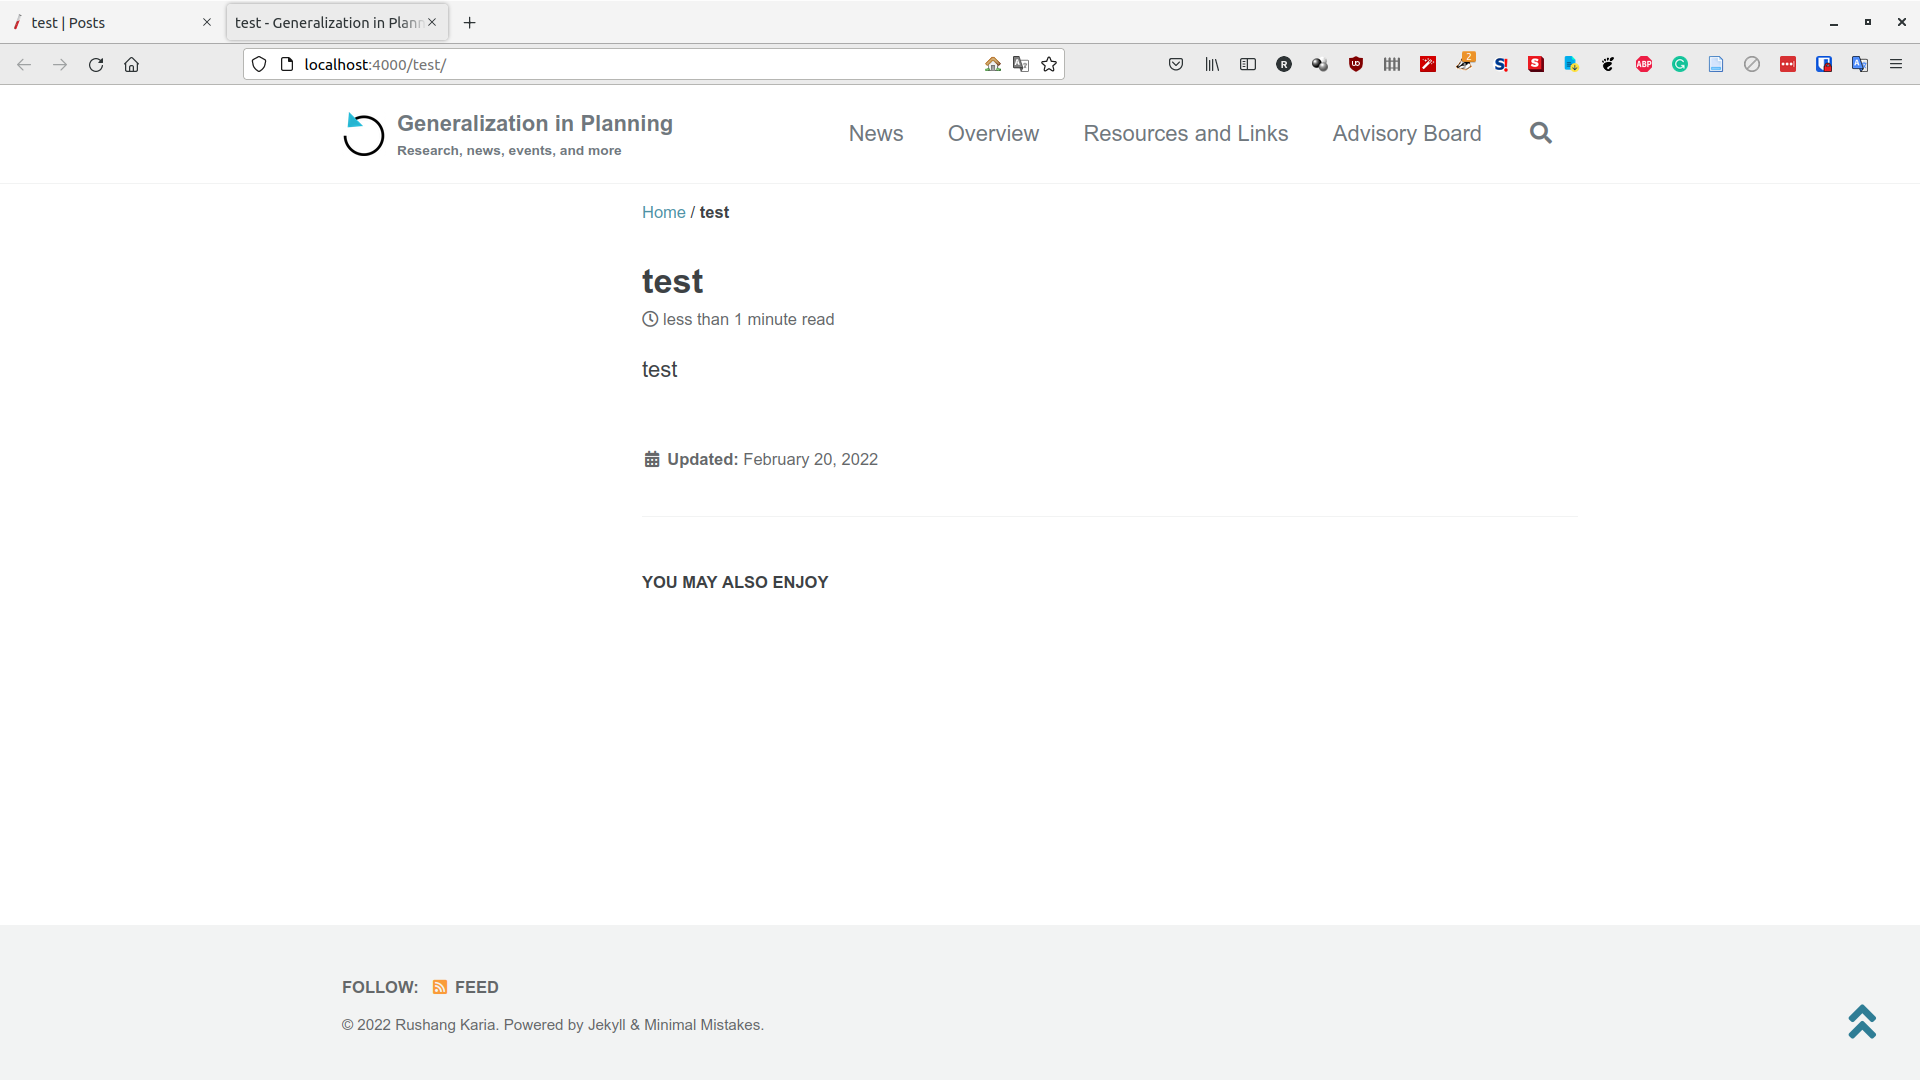
We have set up the theme in a way that new posts automatically inherit the theme of the page. Click on View to get a preview of the page. You should see your content automatically adjusted with the theme of the webpage.
Submitting the post for review
Once you are happy with how the post looks, you can submit it to be accepted to the webpage.
The post you added gets created in the _posts/ directory. A git status should show the post as unindexed.
Add your post by executing the following:
git add _posts/
git commit -m "A commit msg describing your post"
If you have a GitHub account, follow these steps to create the pull requests. From the root of the project directory, execute these commands.
gh pr create
Now open a web-browser and navigate to your forked repo, there should be an option to create a pull request.
Viewing your published post
Once published, your post will appear under the posts tab of the webpage!